The last few weeks have been very busy. In my last post, I wrote about the progress with the roof, which is now nearly done. In addition, our builder has also made considerable progress on many fronts.
After installing the drywall, they have taped, mudded, sanded, and primed all of the walls.
The soffit trim has been a long-standing issue. After installing the windows, we realized that we couldn’t open them without the window bumping into the soffit trim. Worse, the trim that had been installed was not appropriate for outside installation (due to an error translating the approved plans into the final plans) and was damaged and warped by the weather.
Here is a photo from June 20th of the newly installed window bumping into the soffit trim.
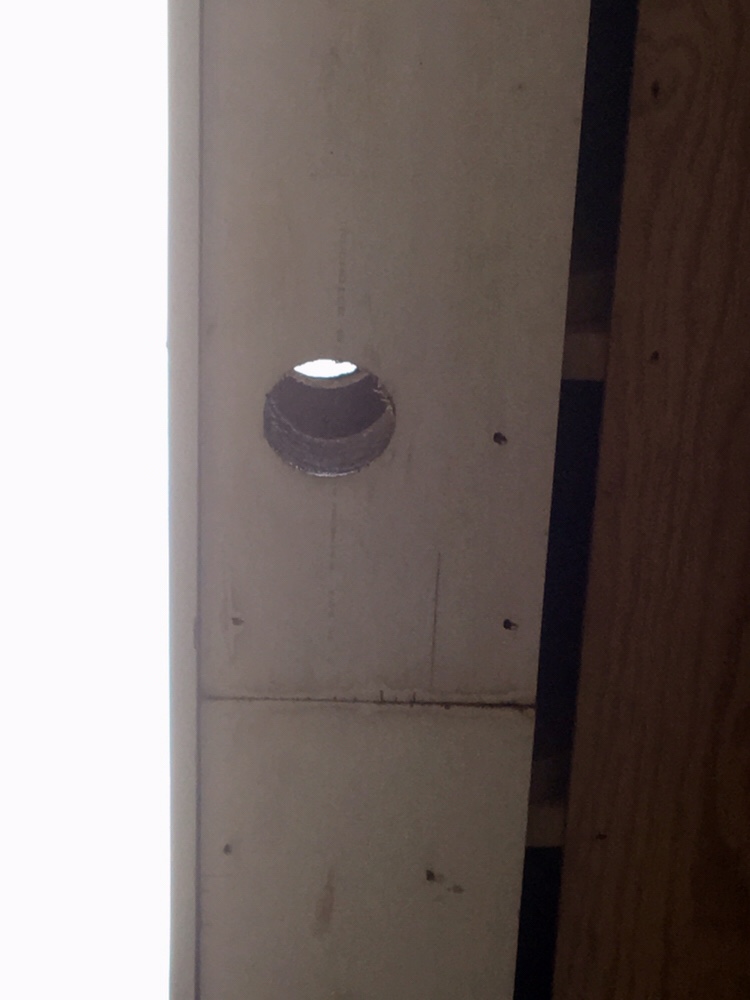
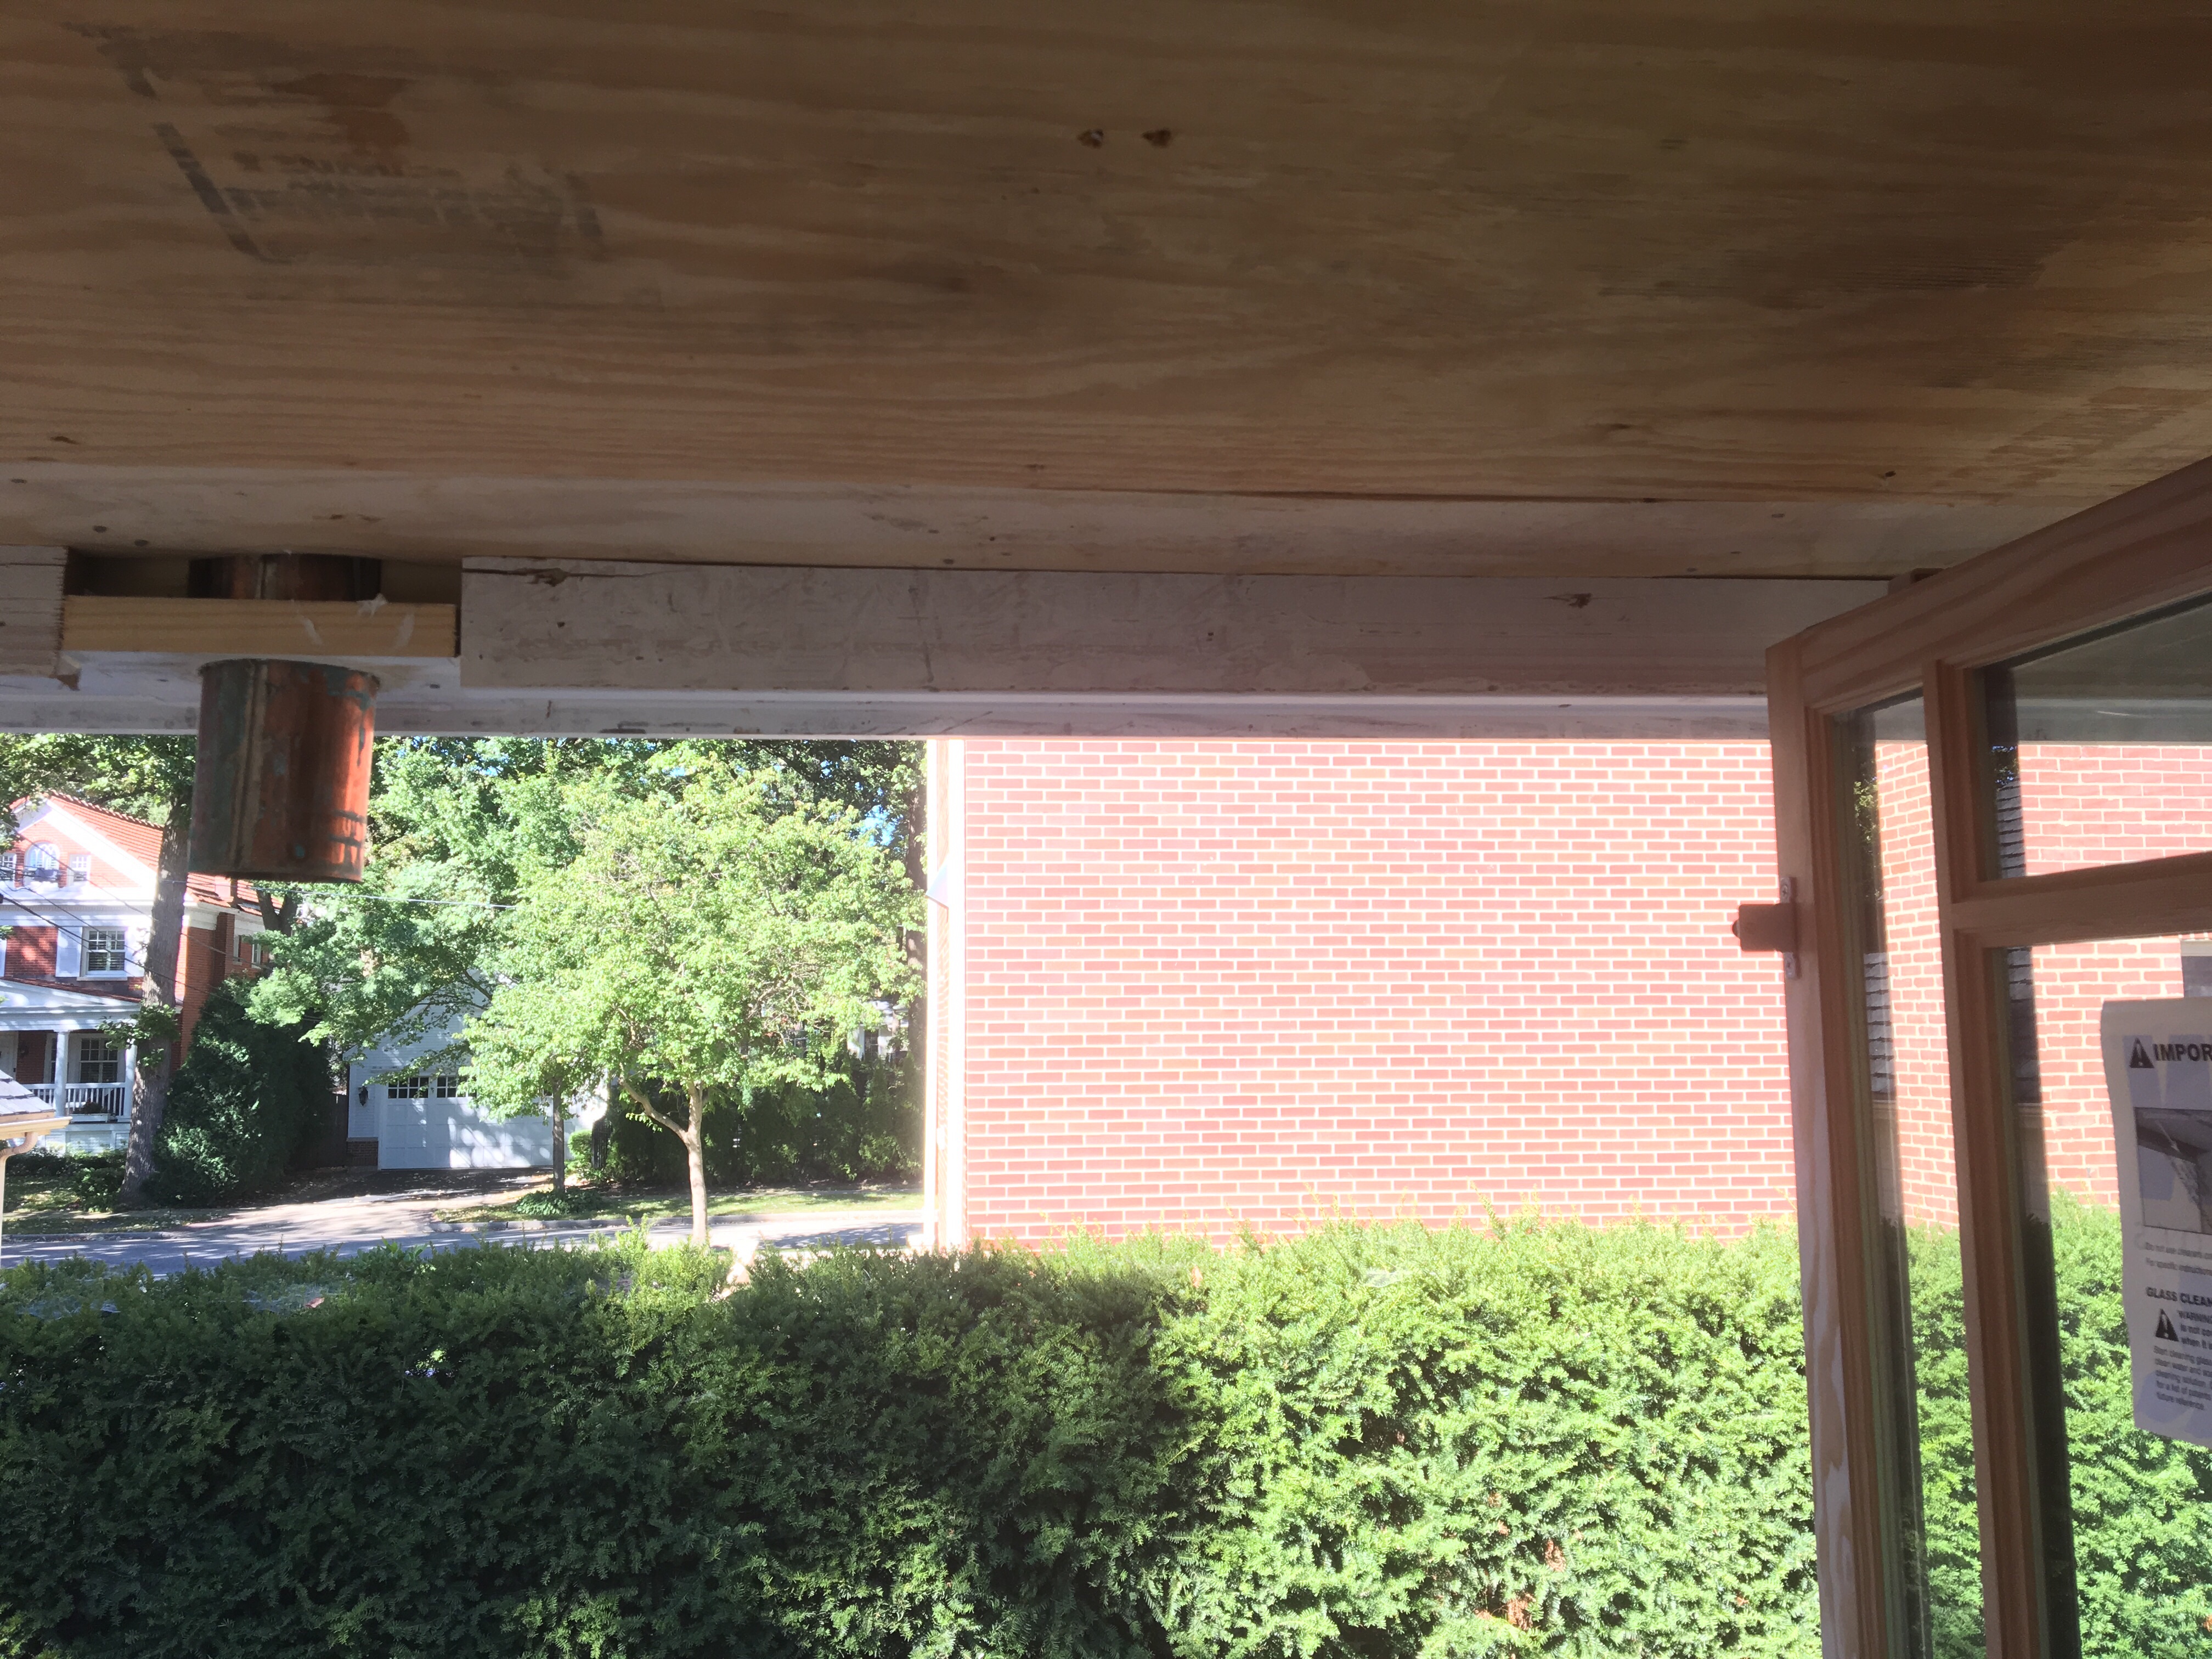
To better explain, below is a photo (looking straight up) of the soffit trim board that had been installed. The board attached on the left is the fascia. The hole is where the downspout will be attached. To solve the problem, all of the soffit trim had to be torn off with smaller trim board installed. But, the holes for the downspouts had already been drilled, and the gutters had been made, so we didn’t want to have to rework those.
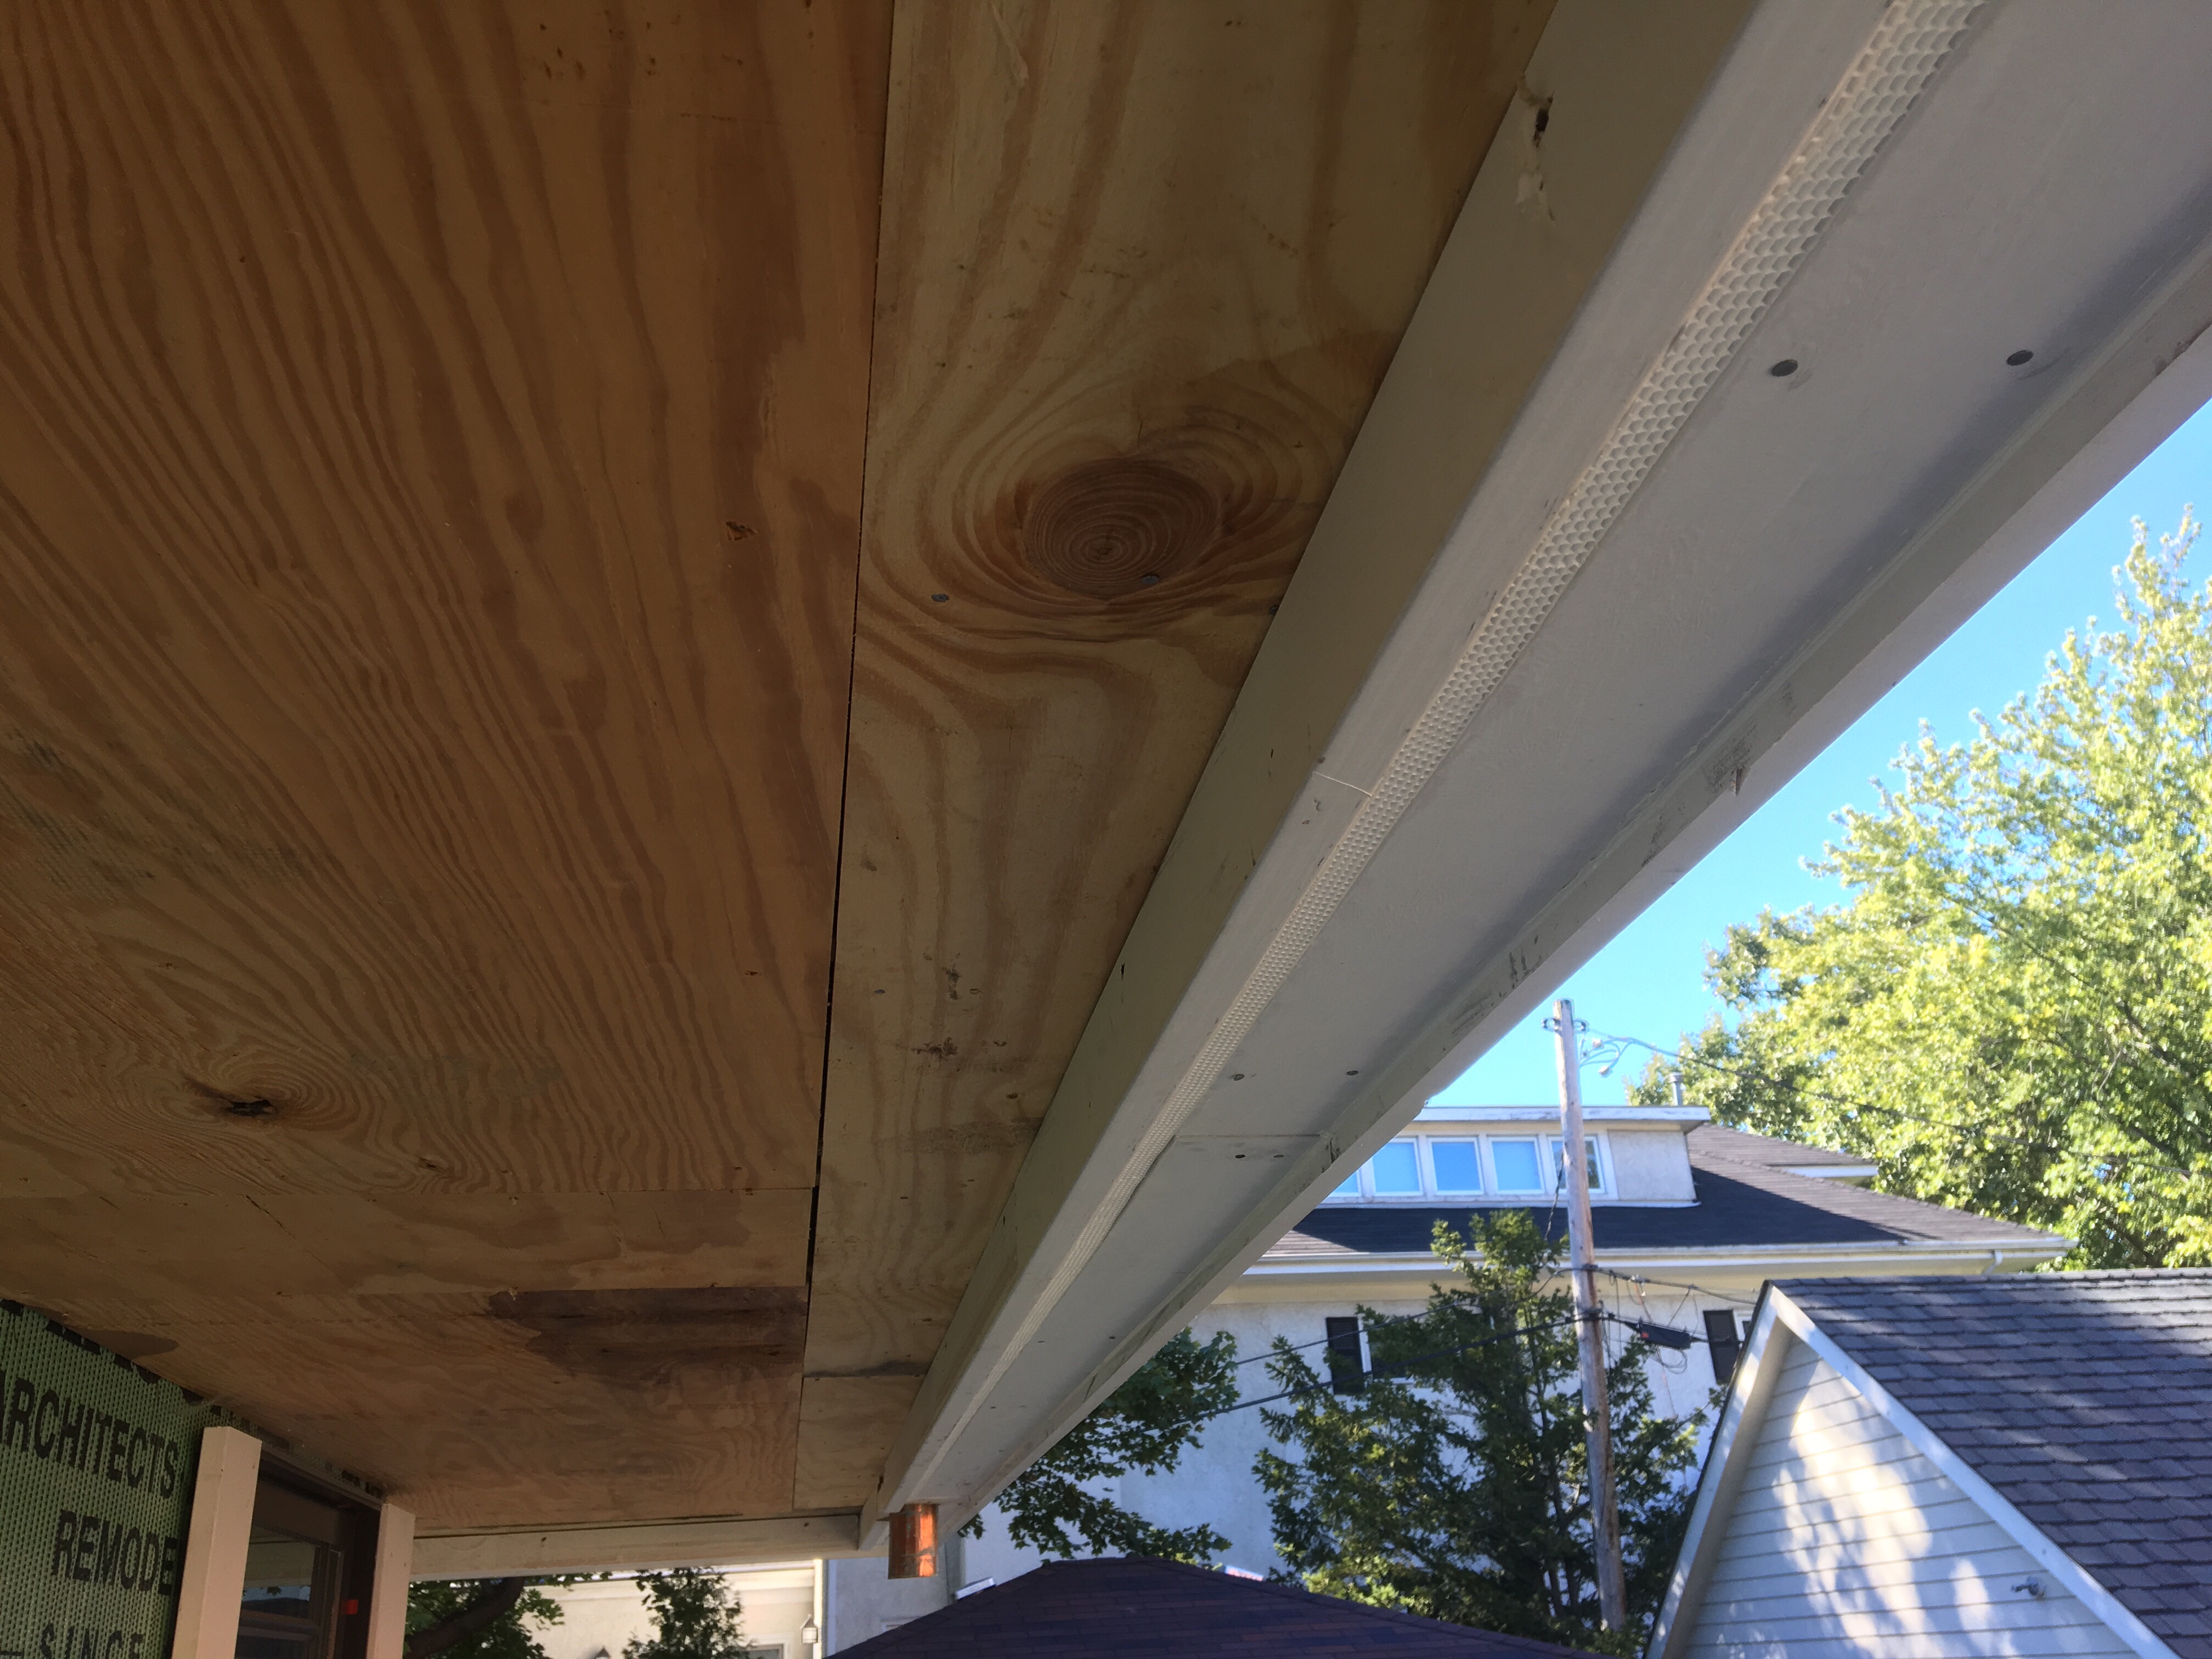
Below is the solution. At the left is the thicker soffit trim for the old house (this was re-built to match what had originally been installed on the house), which connects to the newly re-installed soffit for the addition, at the right. The downspout isn’t quite centered on the trim, and there wasn’t enough room for that interior trim piece, but they did the best they could, and it doesn’t look terrible. It’s certainly a better solution than ripping out the new gutters!


If you look closely, you can also see the vent, which is a clever continuous soffit vent that is concealed in the trim and runs around the entire addition. You can also see the strip of plywood cut to patch the hole that was left. The plywood will be finished with stucco.
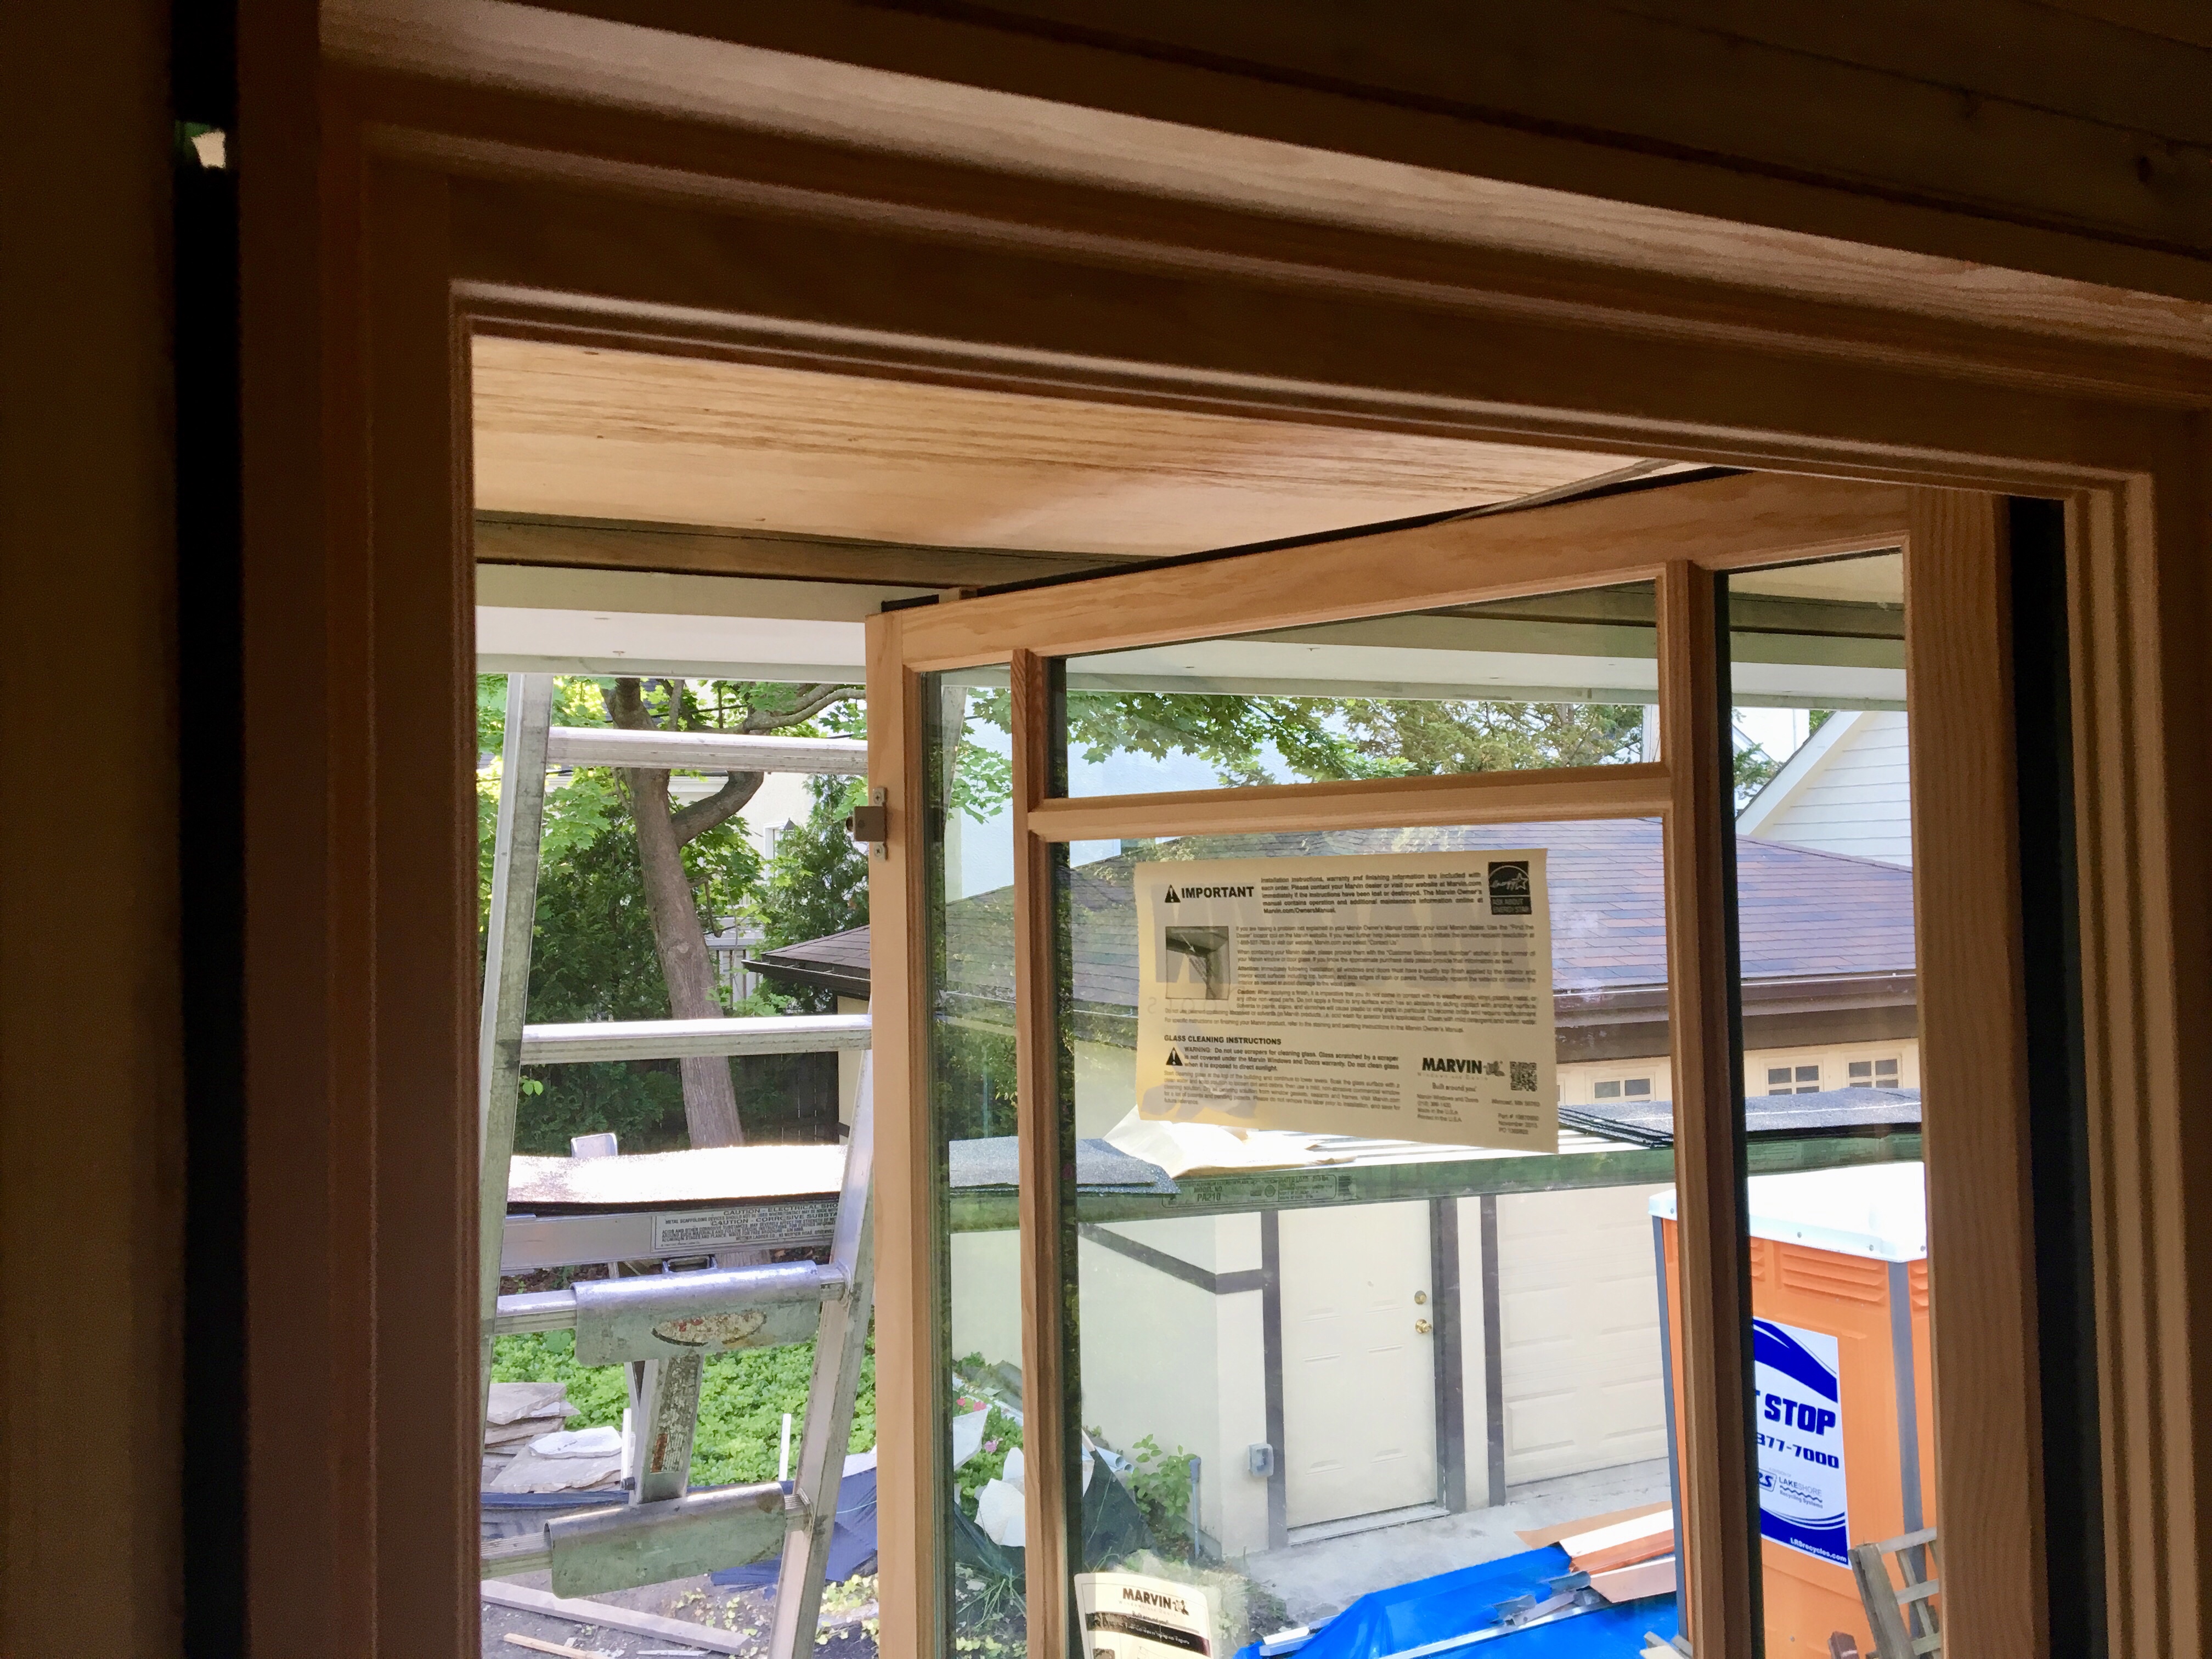
Below is a photo of a window fully opened. Perfect clearance. (You can also see a downspout.)

I’m very happy to have this detail taken care of. That means the roofer can finish installing the downspouts on the addition, and we can then add some dirt to the back yard to bring the grade back up and push water farther away from the addition. We can bury downspout discharge lines when we do that, and then put grass back in. Hopefully, this (along with our second sump pump) will take care of the persistent water problems.
In other news…
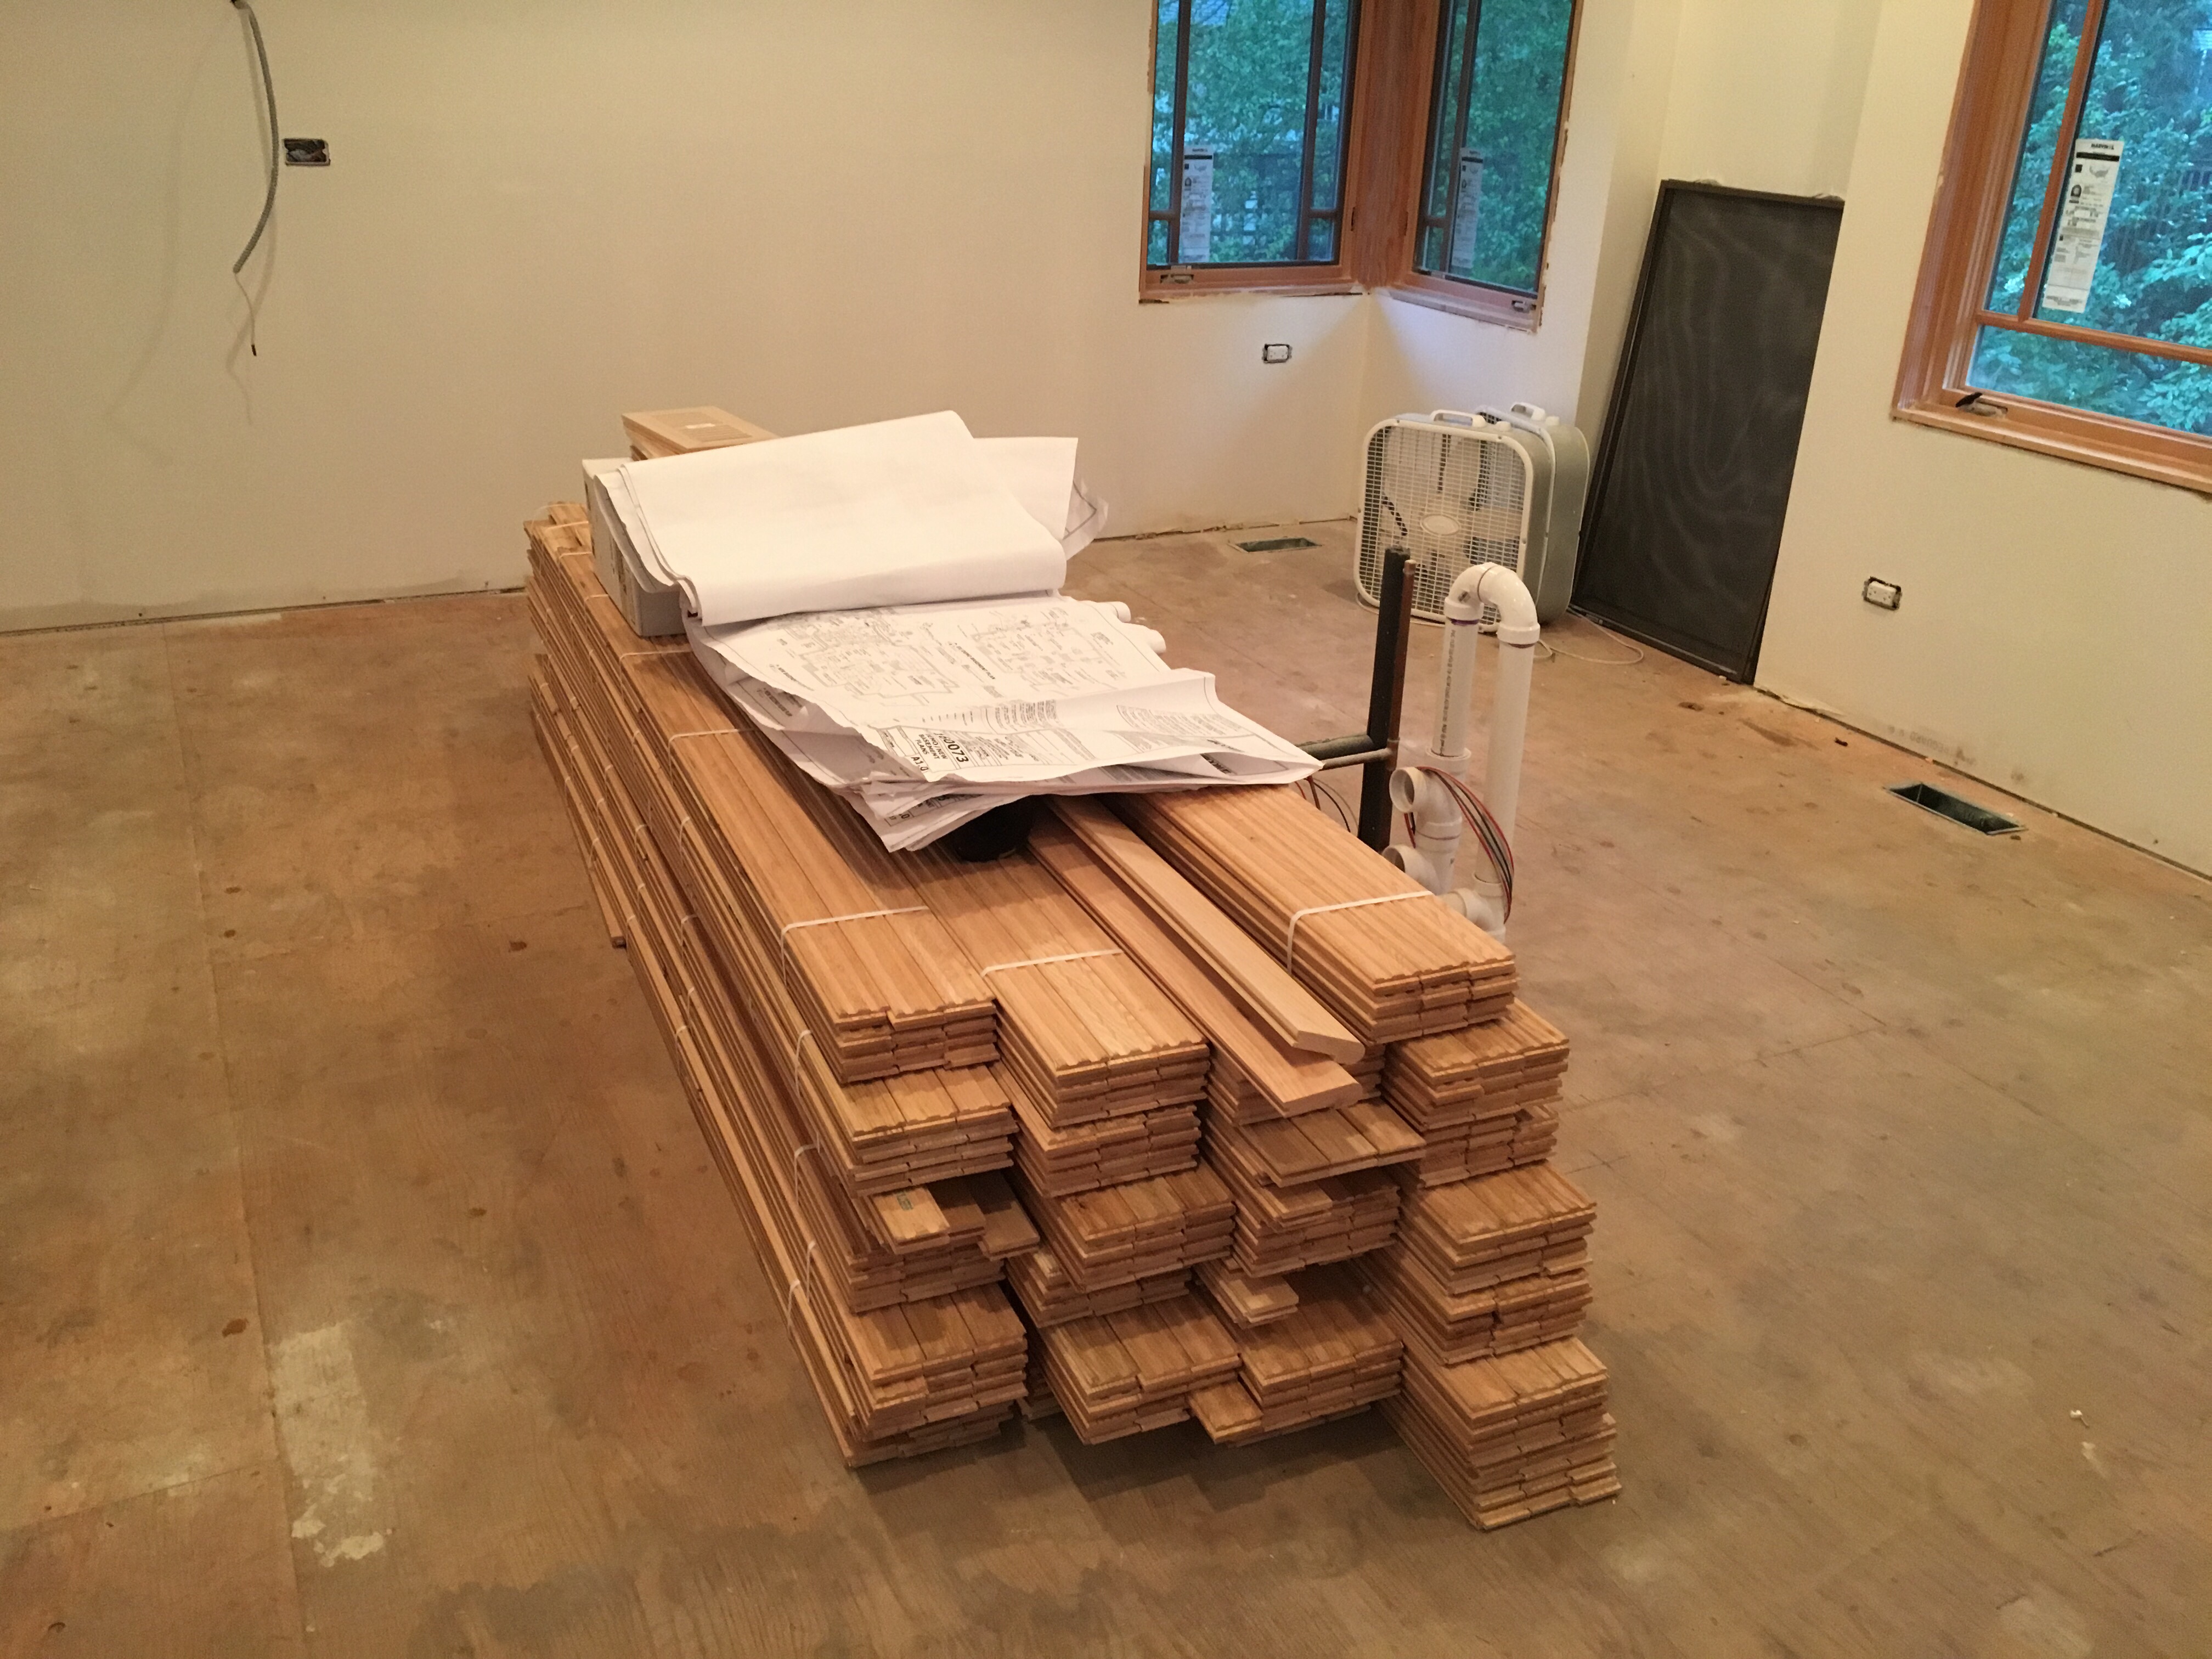
The oak floor has been delivered. They temporarily hooked up the air conditioning so that it can acclimate in the addition.
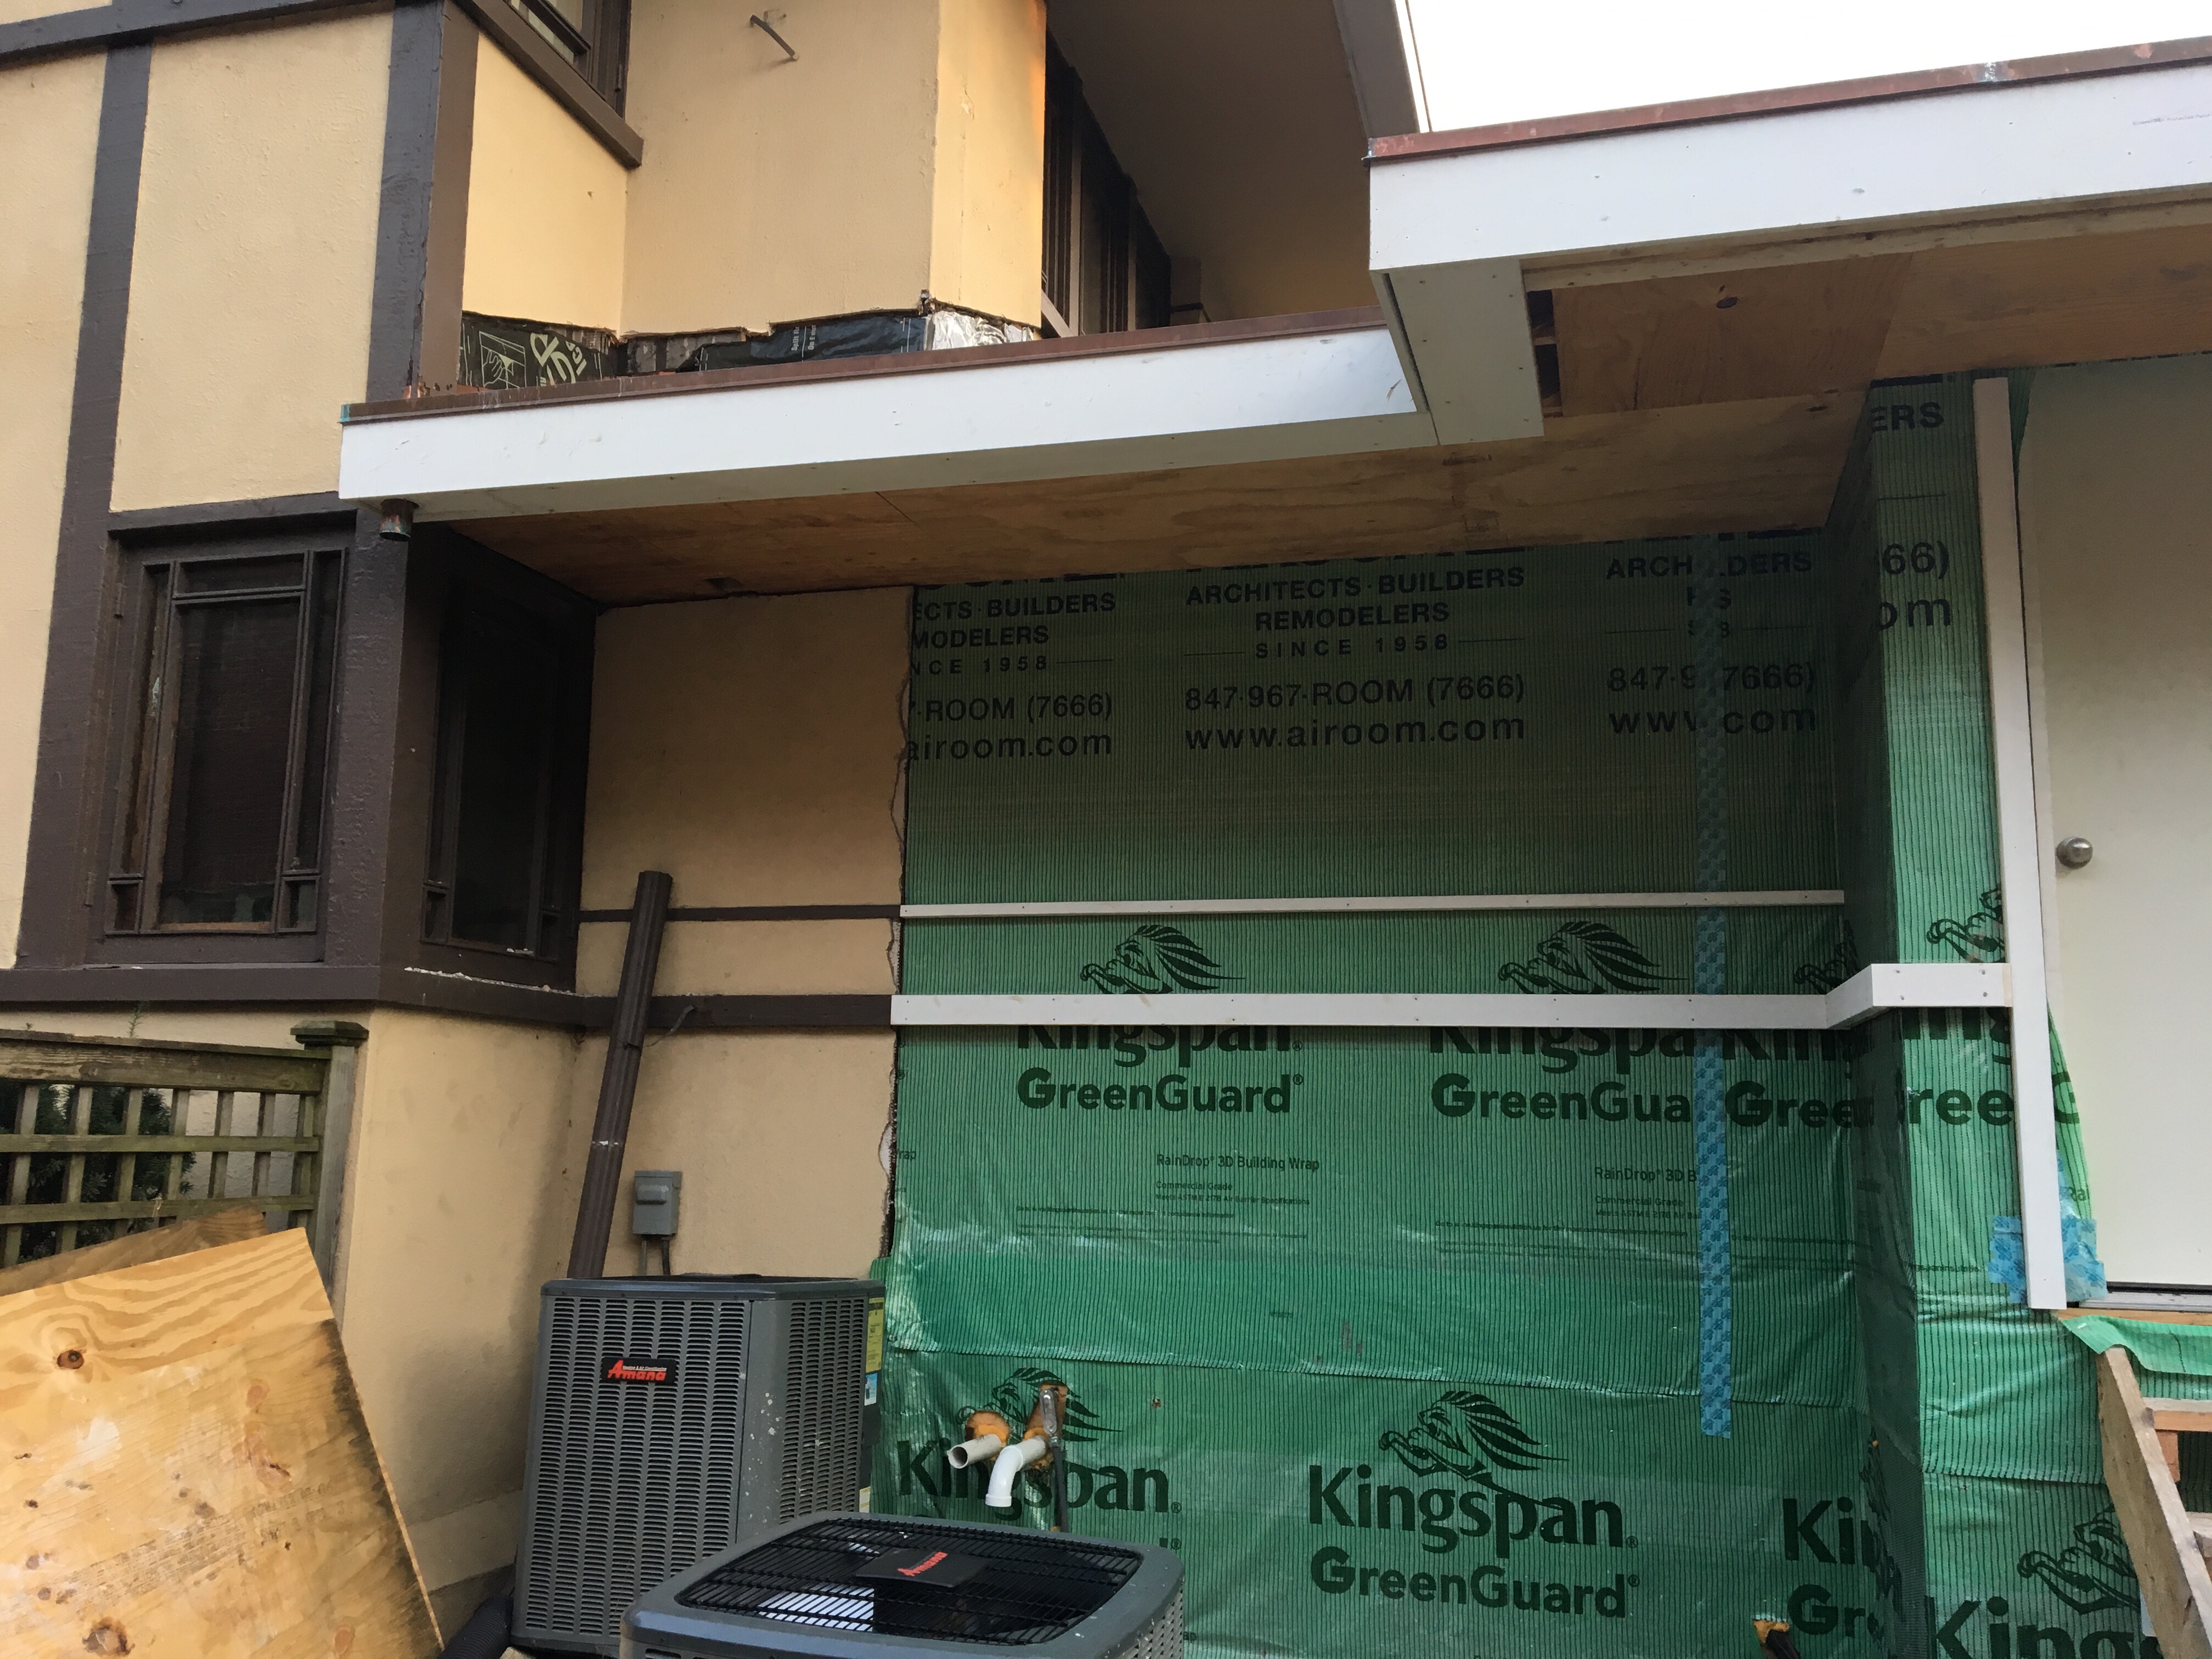
Below is our third air conditioner. After the stucco has been installed, these will be attached to the side of the house on hangers.

Thermostat and light switches. Of course, this non-wifi thermostat will be swapped for an ecobee at some point…
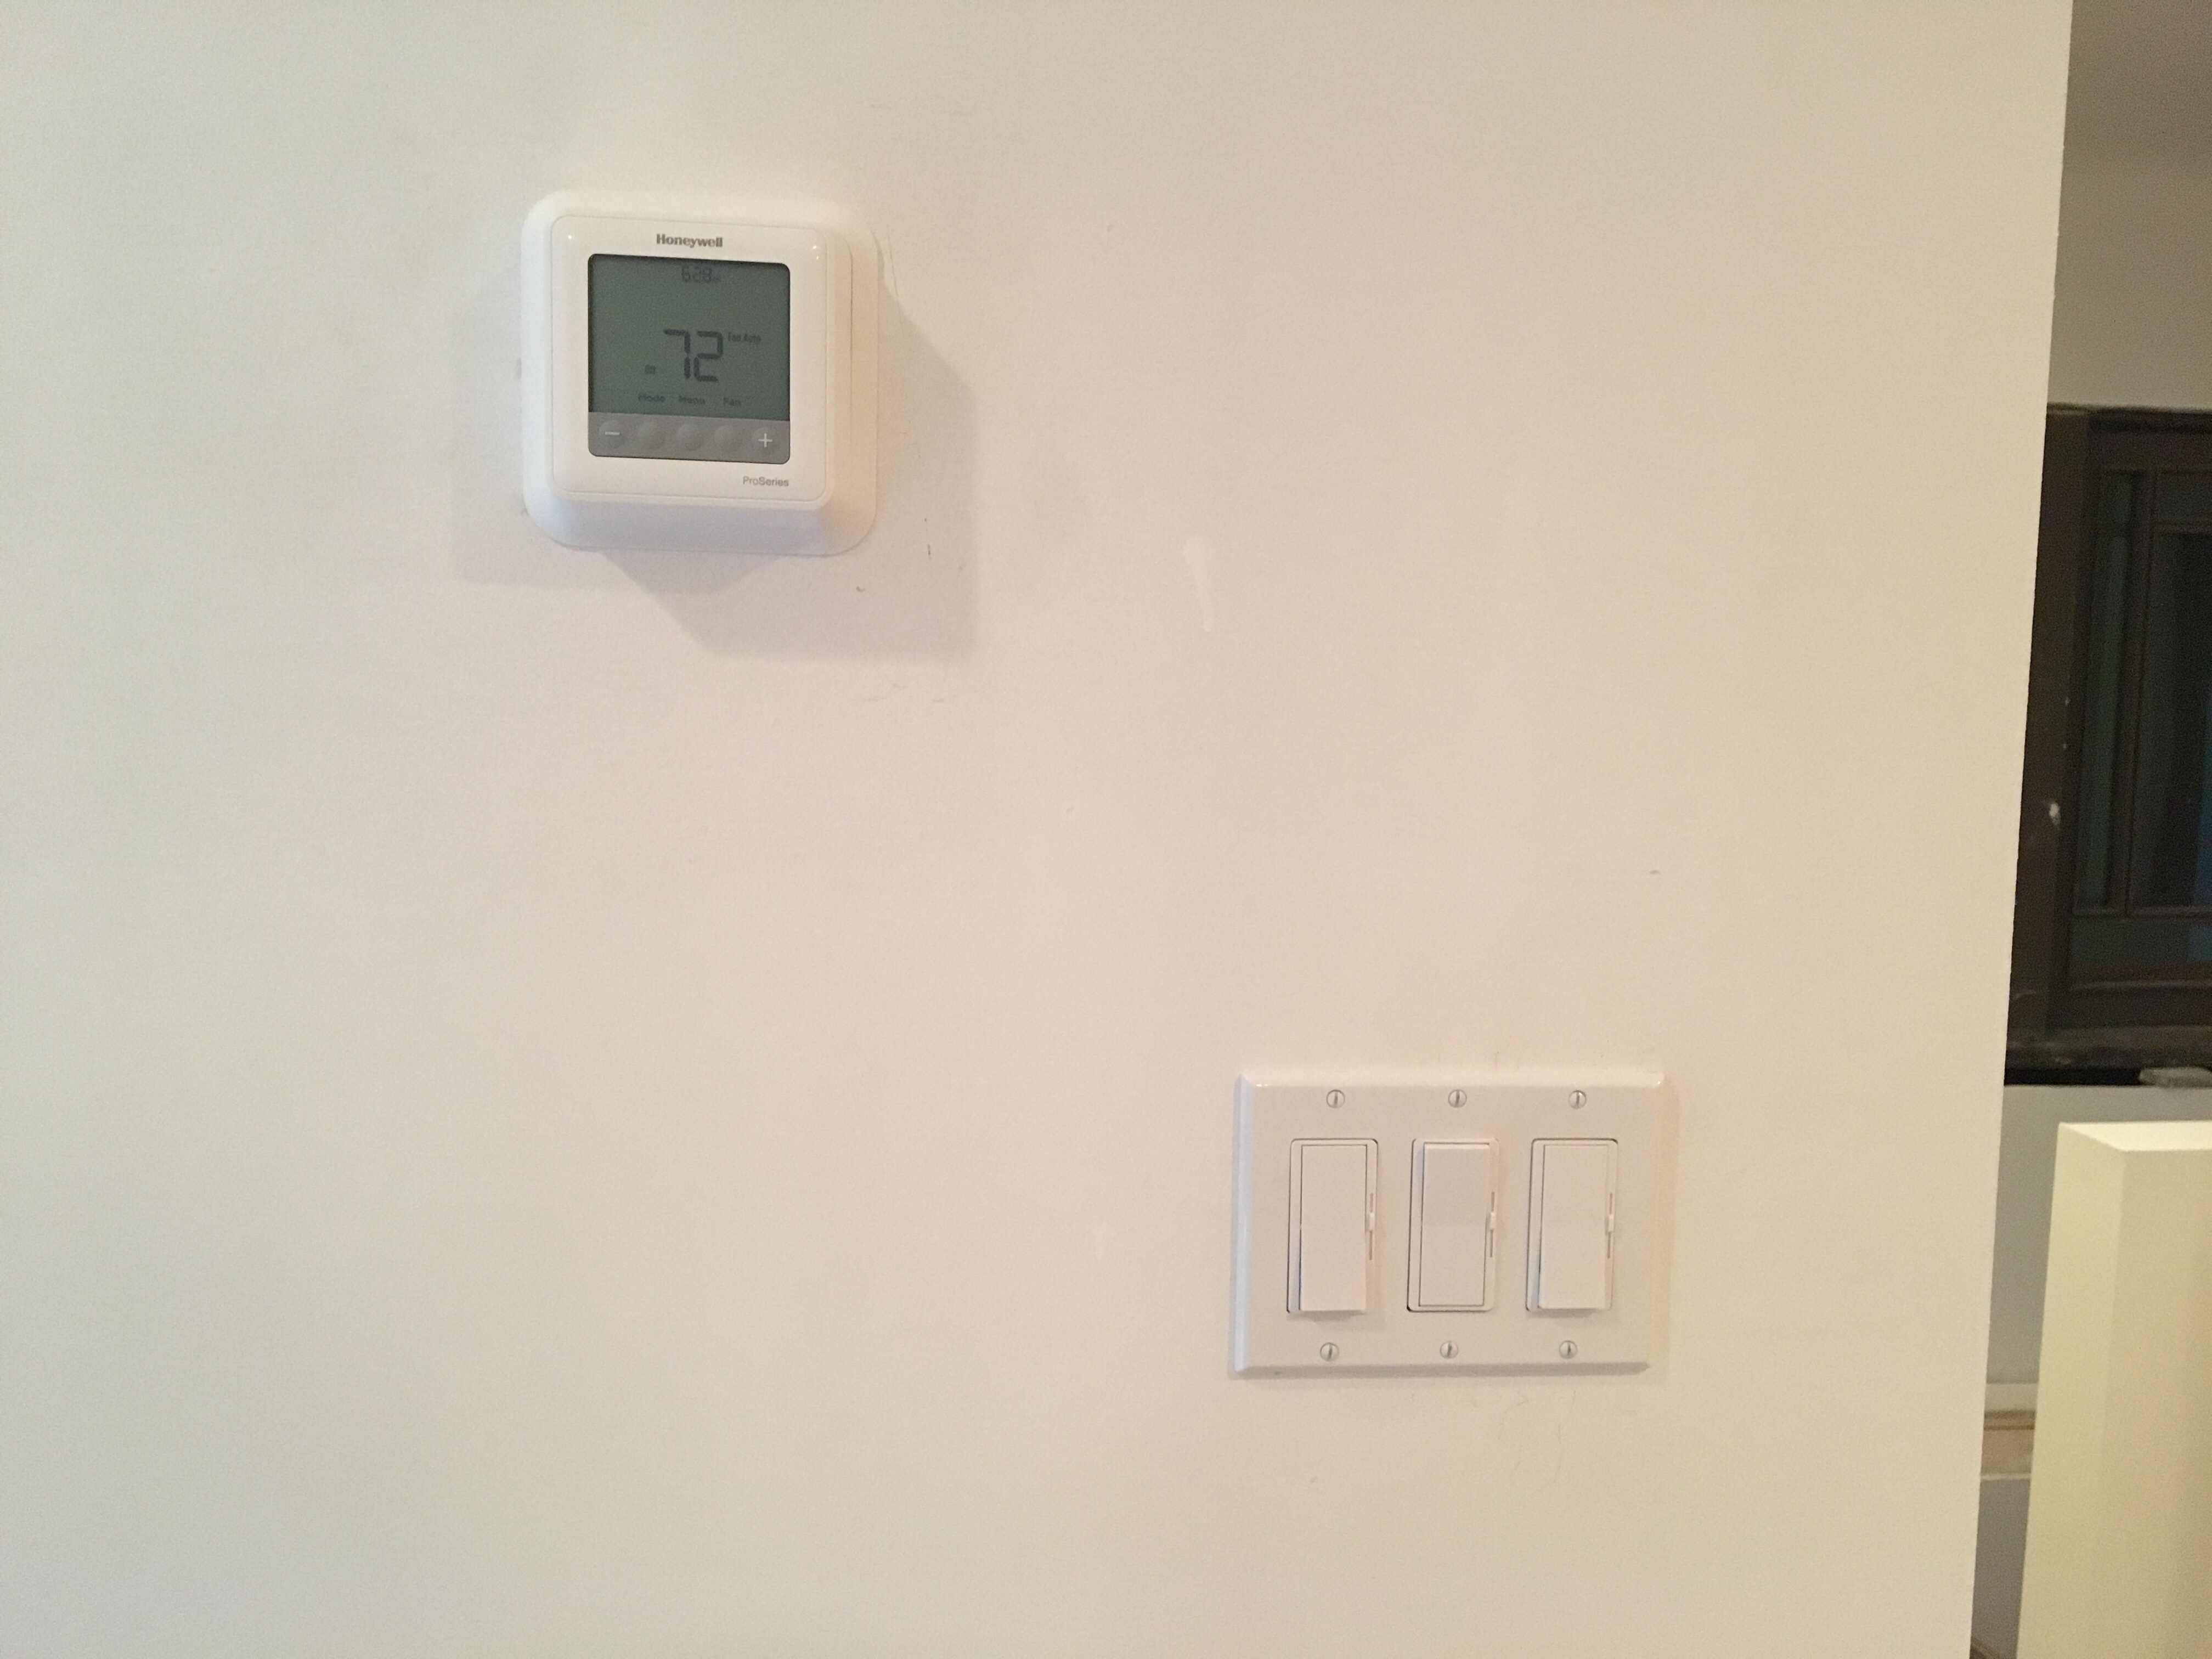
Light switches and outlets have been installed, as well as closet light fixtures and the can light trim rings and bulbs.
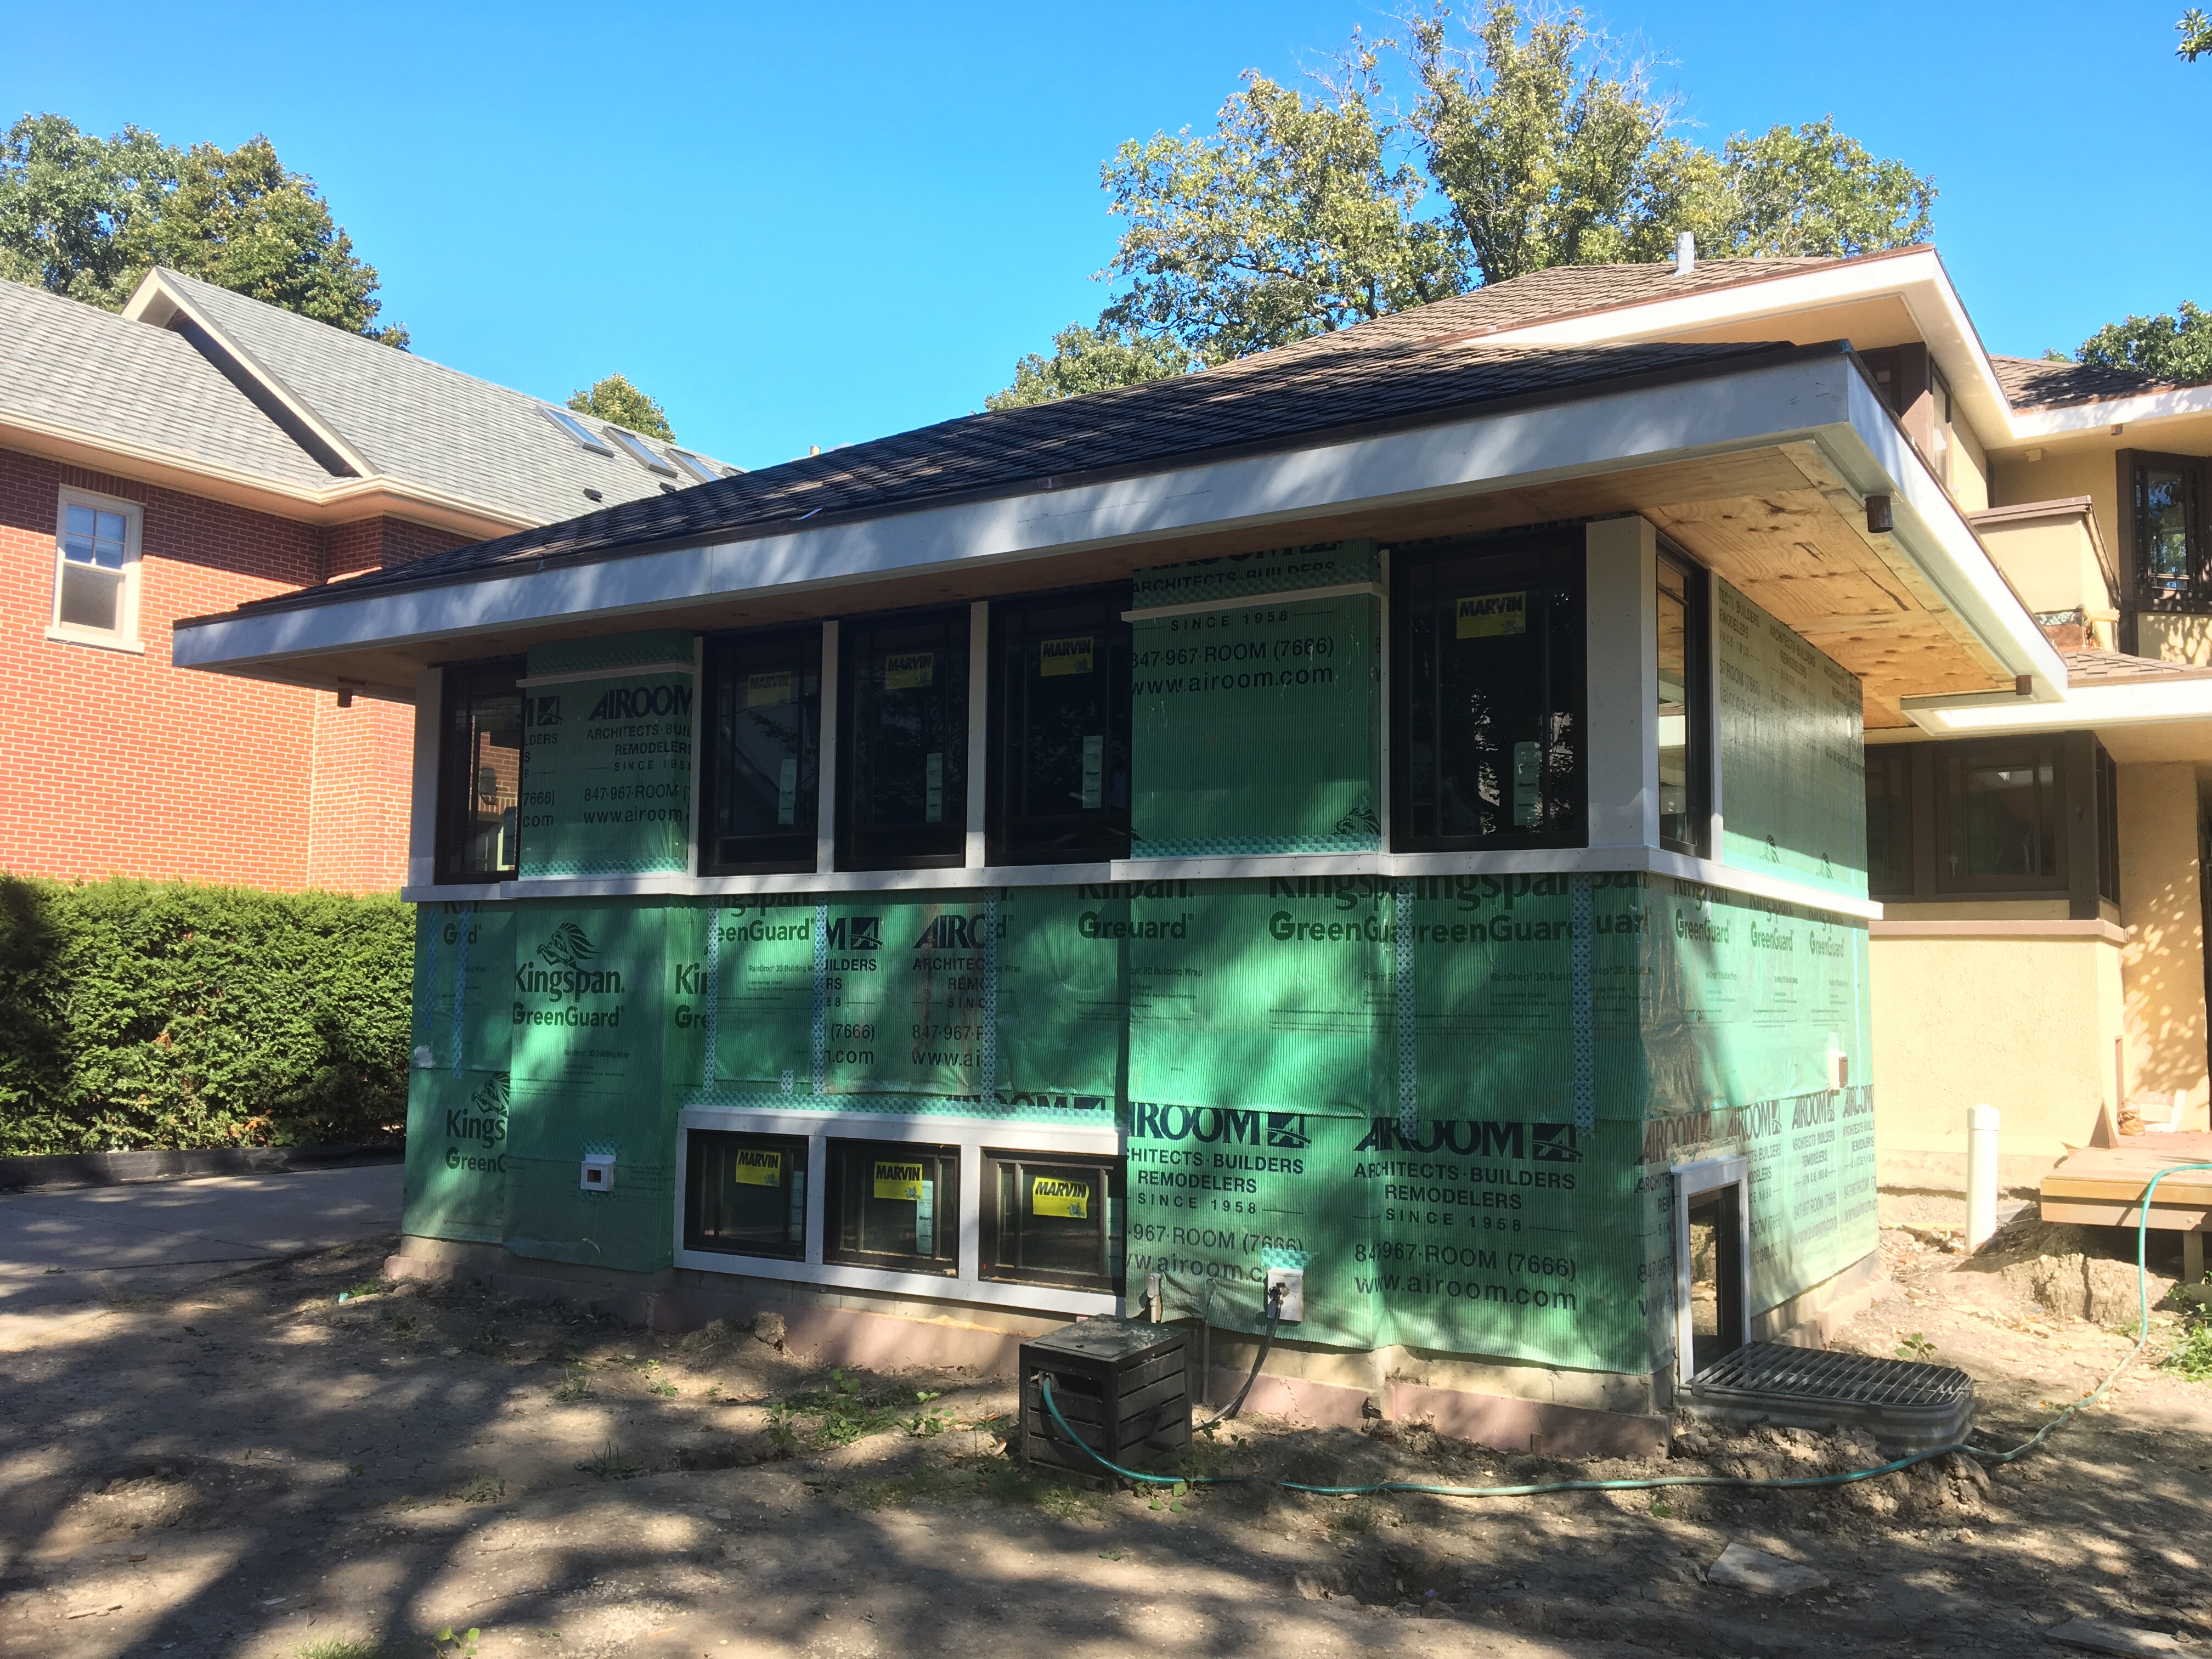
Most dramatically, the cedar trim has been installed on the exterior of the house! This trim was designed to match the pattern of the old house.
Below you can see the old matching exactly to the new trim.
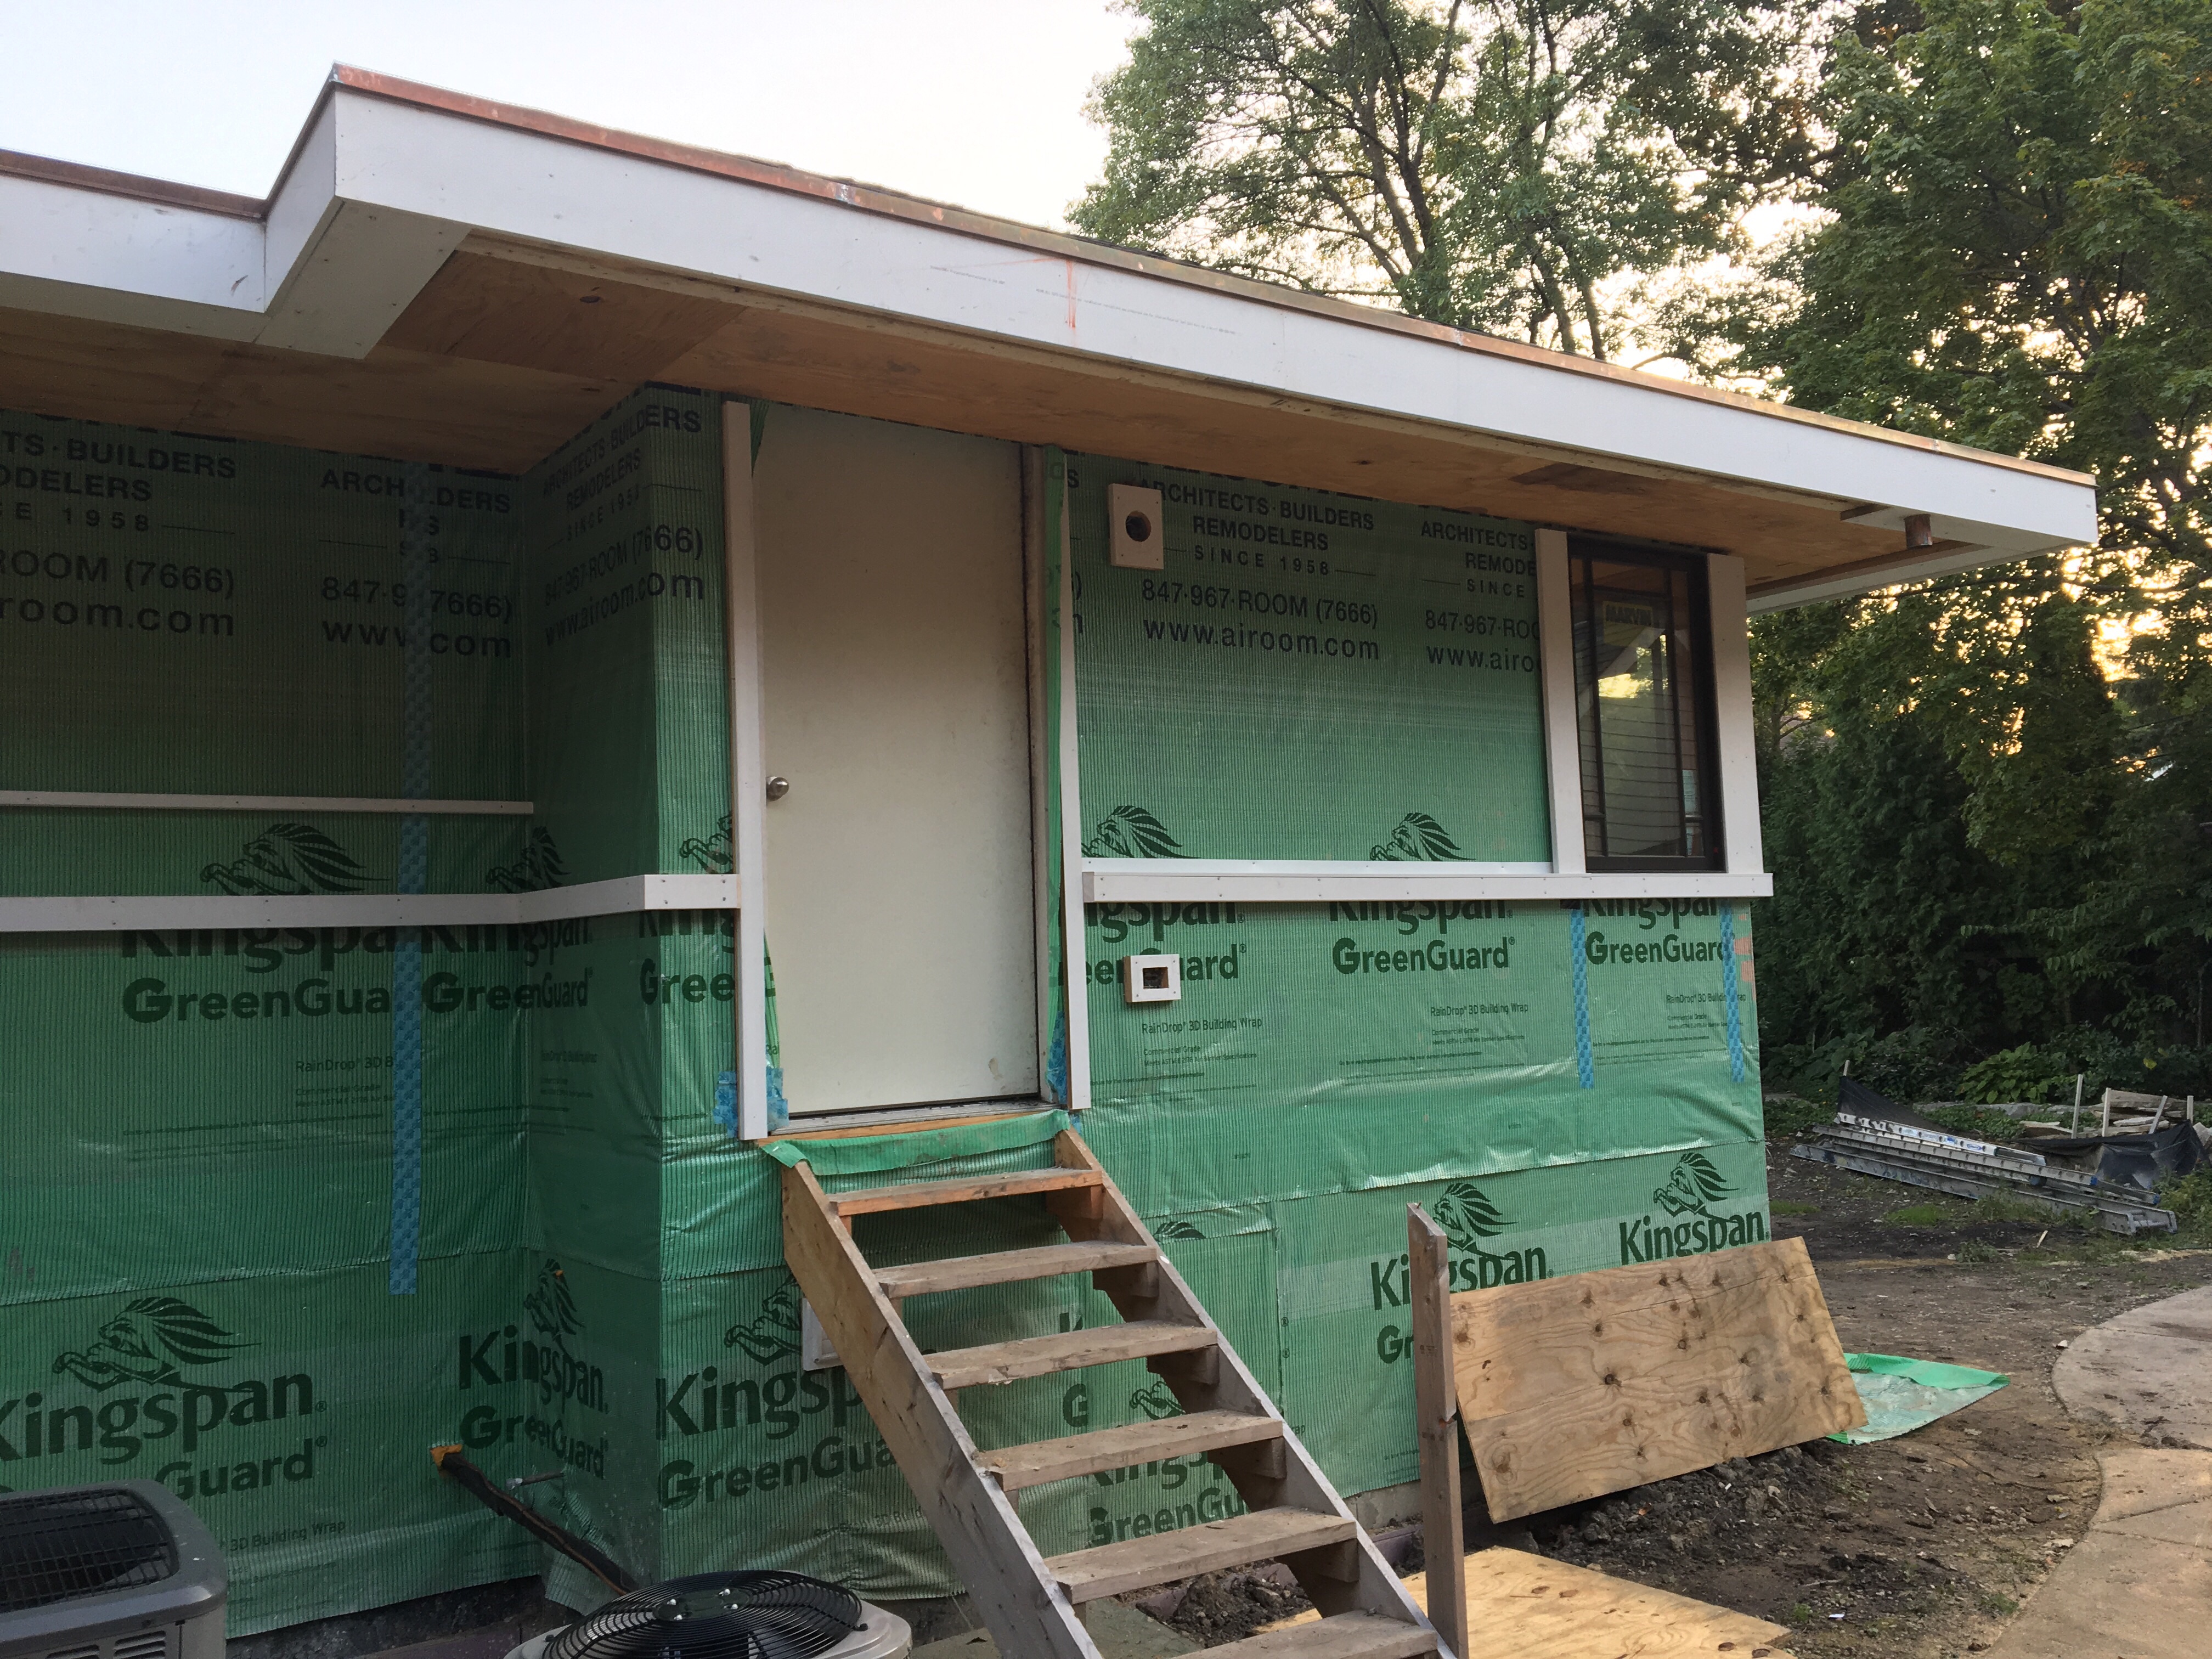
In this closer view, you can see the temporary door that has been installed to keep the air conditioned air inside. You can also see the nice trim detail and the flashing that has been installed on top of the trim.

I struggled with the trim for the rear of the addition. Here’s an old photo of the back of the house for reference. See how there is a horizontal 1x strip at the top close to the roof and in line with the upper windows, and another lower, in line with the lower windows?

I couldn’t decide if it should be at the top of the bottom of the window, as this is a one-story addition. Our architect went with the top, and I didn’t disagree. But now that I see it, I think I was wrong about that, though I think you could argue it either way.
Also of concern was the slightly mis-measured window. At the right are the existing kitchen windows. I opted to remove the existing piece of 1x trim and install a new one lower to align with the new window grille. It will be slightly off compared to the trim on the other side of the house, but no one will ever be able to see both sides at the same time, and you’ll need to get out a tape measure to notice.

Next week, we should see the exterior trim work finished, the wood floor installed, and the basement floor and bathroom tile delivered. Hopefully, the roofer will also be out to finish the porch gutters, downspouts, and shingles.
With any luck, the kitchen cabinets should be brought in within a couple weeks, and we can finally get our appliances and light fixtures.
Our next challenges include: making decisions on floor stain color, stucco color, and exterior trim paint color.
Wow. I’m exhausted just reading about it. Hang in there, the end is in sight…
It is fun to see the progress, but I really have to keep an eye on things. I just noticed that they drywalled over one of the can lights!