This is the post that I never thought would come.
The work is not yet complete, but it is now “done enough” that we can move back in. We’ve moved our furniture back from storage.
Orth House II Renovation blog
This is the post that I never thought would come.
The work is not yet complete, but it is now “done enough” that we can move back in. We’ve moved our furniture back from storage.
There has been a lot of progress on the project, particularly with tile. This is very exciting to see as the spaces really start to take shape.
We went bold with the powder room tile. It’s a very small space, it’s quirky, so why not have fun?
The wood floors have been installed, and the bathrooms are ready to tile.
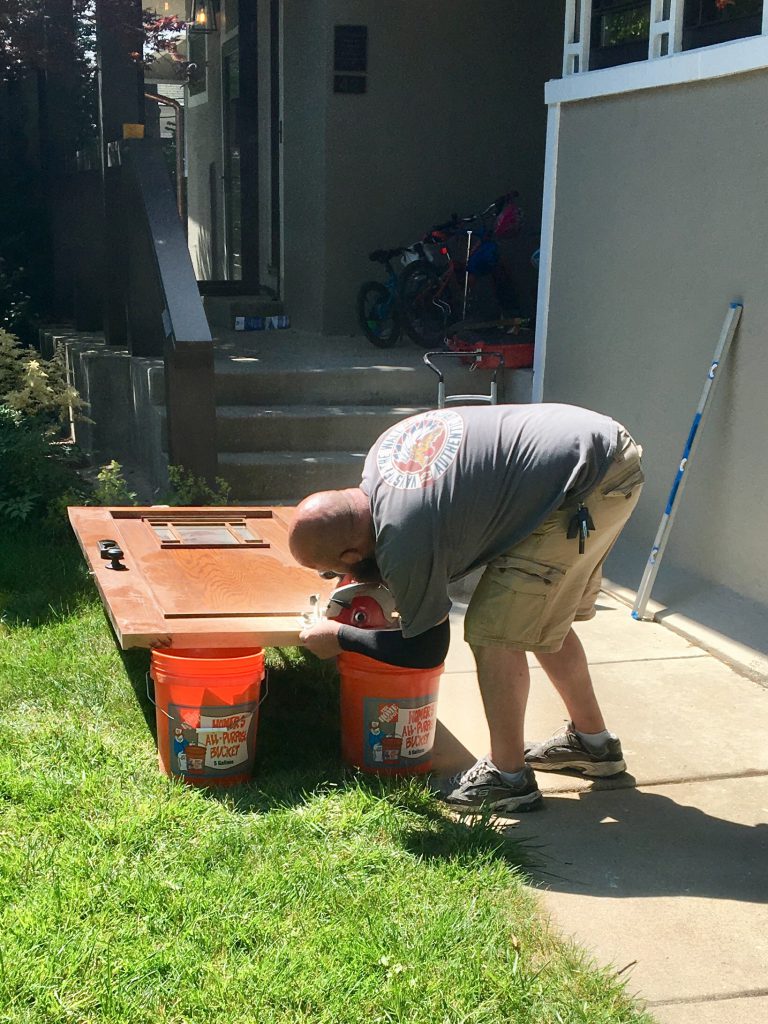
With all of the floor leveling that was done, the front door would not swing open without cutting it down.

Continue reading “Hardwood flooring / bathrooms ready for tile”
The renovation continues at a good pace.
Over the last two weeks, we have passed our insulation inspection and had drywall installed, taped, and mudded.
Here’s a photo tour of the progress.
The tour begins in our dining room, where we opened up a wall to hide plumbing and electrical. We bumped out this corner a bit to make room for the plumbing drain. The alternative would have been to hide it behind the built-in, but it is such useful storage, we felt this was a better solution.
Spray foam insulation is considered superior to old fashioned fiberglass batt insulation. Since our vaulted master bedroom ceiling and low roof is a challenge to insulate, we decided to pay the premium for closed cell spray foam insulation.
We also hired a mason to repair (repoint) the old brick chimney upstairs. This feature was originally covered by plaster and would not have been exposed originally. While I have long argued to cover it back up, I lost that argument. So, the brick needed to be repaired.
Here is a “before” photo. The dark spots are Portland Cement (not mortar).
Someone just slopped in some concrete between the bricks in an attempt to repair them. The challenge with that is that these bricks are over 100 years old and are quite soft – the original lime mortar would have had high lime content and would also have been soft, and it must be repaired with the correct mortar so that the bricks are not damaged by a much harder concrete joint that can cause them to crack.
Below is a photo showing the joints between the bricks partially ground out. The left side of the photo below shows how the bricks looked before grinding, while the right side shows the grinding underway. It is already a remarkable improvement.
Continue reading “Spray foam insulation and chimney repointing”
We have a lot of things going on now, so I thought it would be useful to write them all down. Some are project updates, some are things I’m still thinking about.
The framing and floor leveling for the second floor is now complete. The carpenters have also repaired many structural problems.
Continue reading “Framing and floor leveling complete! Plumbing underway.”
The floor leveling continues! The main floor is now nearly complete.